Hi, I’m Jess!

I’m a New Orleans-based event producer, artist, designer, & florist with a passion for bringing brands to life in unique, creative ways.
Creative Concepts for Events, Hospitality & Home
-
![]()
Event Planning + Design
17 Years Experience Creating Immersive Environments for Corporate Events, Weddings, & Celebrations of All Kinds
-
![]()
Murals + Chalk Signs
Permanent Large-Scale Art & Menu Boards in 7+ Local Restaurants with Hundreds of Chalk Signs Drawn
-
![]()
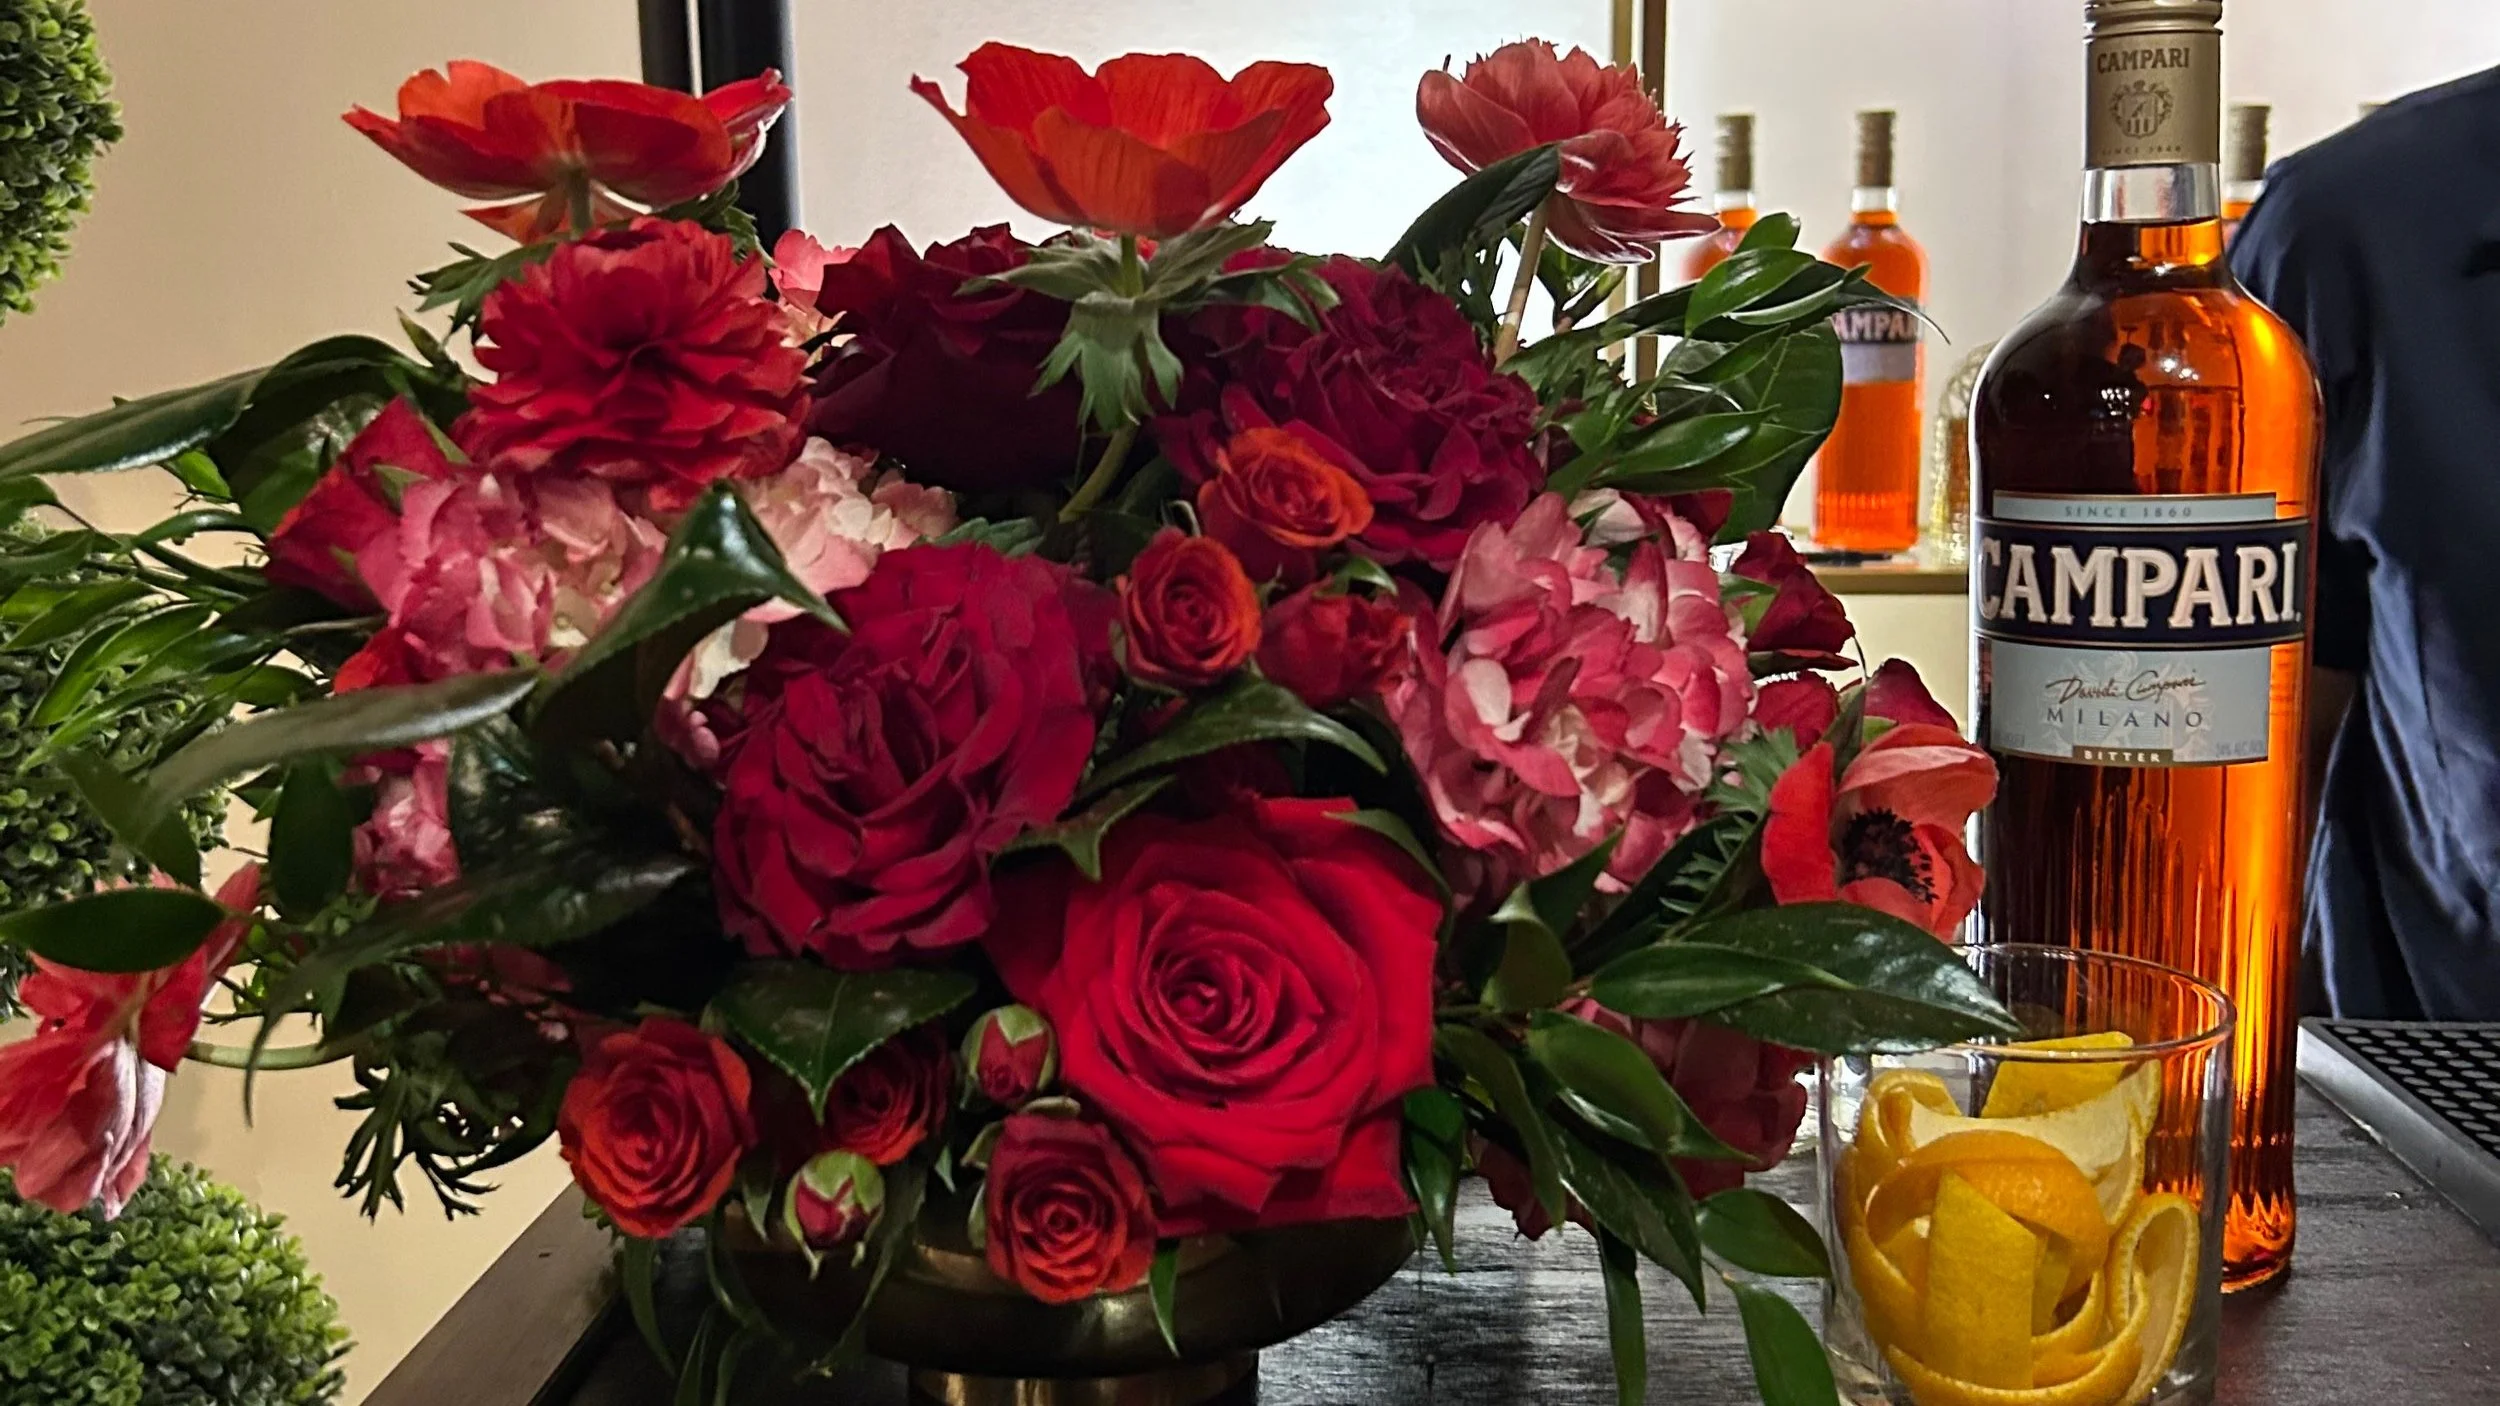
Florals + Plantscapes
4 Years of High-Volume Floristry Experience Focused on Major Brand Activations, Luxury Weddings & Holiday Displays